I am following the very talented {Beth Naumann's Blog.} We have 26 Close to My Heart Consultants participating in our New Product Blog Hop. If you lose your place while traveling through our blog hop, the complete list of participants can be found here.
The Spring/Summer Idea Book is out and that brings with it lots of new products and new ideas. I always have such a hard time trying to figure out what to work with first. I was in the mood to be creative and really wanted to bring out my sponges and get my hands inky.
Here are the cards that I made:
Can I say that I am loving these stamp sets? Can you believe that each image is just one stamp? These stamps take the work out of stamping a collage image. All I had to do was stamp one time and sponge. Faster, Simpler, Easier.
I stamped my first card, making sure that the stamping was straight. Then I took post-it notes to mask off the area that I wanted to sponge. I used the grid on the versamat to aid in the placement of my post-it notes and then started sponging. When I removed the post-it notes, I found that I had not placed the post-it notes as straight as I though I had. As I placed the post-it notes, my grid lines were hidden by the notes and I was kind of winging it and not so well.
So, I spent a few minutes mulling over what to do as I stamped my next card. This is what I came up with.
I measured the sponged image in my first card and determined that I was sponging a 3" x 3" area. I cut out a piece of cardstock that was 3" x 3" and placed it over the stamped image and then used it as a guide to place my post-it notes. So much easier! Then I removed my piece of cardstock, leaving the post-it notes and started sponging.
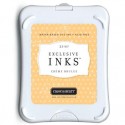
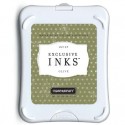
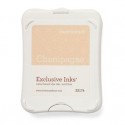
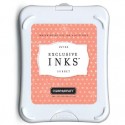
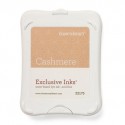
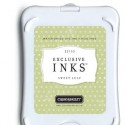
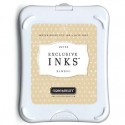
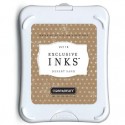
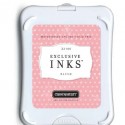
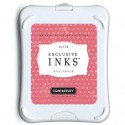
For this card I sponged Creme Brulee ink over the middle of the card and then sponged Sorbet ink over the flower, adding more color in the middle of the flower to give it dimension. Then I sponged Champagne Ink all around the flower, covering all of the White Daisy cardstock. I finished the sponging with Cashmere Ink around the edge. I then used a Blending Pen and Olive ink for the stem and leaves. The post-it notes were removed, leaving my finished card. Now how easy was that?
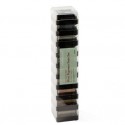
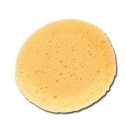
Supplies Used
Island Greetings Card
Japanese Blossom Card
Thank you so much for visiting my blog. The next stop on the blog hop is the fantabulously creative, {Nikka Geer's Blog.}
And don't forget to add the February Stamp of the Month to your order!


.jpg)




Simple but stunning cards!
ReplyDeleteNice cards and thanks for the instructions.
ReplyDeleteI think both cards look great. Love your idea of masking and then sponging color on to add dimension to theses images.
ReplyDeletegorgeous, gorgeous, gorgeous!!!!
ReplyDeleteSo very pretty!
ReplyDeleteVery Pretty cards. Love the way you laid out the items you used to make them!
ReplyDelete