Welcome to the Close to My Heart
Seasonal Expressions 2 Blog Hop
Seasonal Expressions 2 Blog Hop
I am following {Maureen O'Sullivan's Blog.} We have almost 40 Close to My Heart Consultants participating in our Close to My Heart Seasonal Expression 2 Blog Hop. If you lose your place while traveling through our blog hop, the complete list of participants can be found here.
Did you know that Close to My Heart released a new mini catalog called Seasonal Expressions 2? It went live on April 1st and you can order from it until July 31st. I love, love, love all of the new products! We have 2 new paper lines - Blossom and Jackson. Now, who doesn't love new patterned paper?
Thank you for hopping through our Blog Hop.
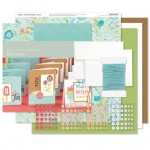
In the Seasonal Expressions 2, the Workshop on the Go for Blossom is a Card Workshop. It is super cute. It has an exclusive stamp set that is one that you have to have. Great for all ages! And it makes 15 cards.
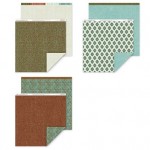
I decided to make the Blossom Workshop on the Go cards as designed and then on a second set changed the paper pack to the Jackson paper pack to show you how versatile the stamp set and the card design is. Close to My Heart includes 3 original card designs in this Workshop on the Go and who is to say that you cannot use the pattern for different paper packs?
So, on to my cards.
Here is a close up of my card again using the Blossom Paper Pack.
And here is a close up of my card using the Jackson Paper Pack. I think it worked pretty well. What do you think?
The Blossom Workshop on the Go calls for you to adhere a piece of the Juniper Thick Twine to the card and then cut a second piece, knot it and fray the edge and adhere it near the first piece of twine. Here is another way to do it.
Take a 5" piece of Thick Twine. You can either loop the twine once around a pencil and tie a knot or just tie a knot leaving a loop near one end, but leaving enough left that you will get the placement shown in the directions.
Then cut the loop so that you have two even pieces above the knot. Fray the edges just by unraveling the twine above the knot. Now adhere with a very thin line of Liquid Glass.
Thank you for visiting my blog.
By the way, I would love for you to leave me a comment and then please go to our next artist, {Tracey Pierce's Blog.}
You can purchase any of the supplies listed below on my website.
Supplies Used


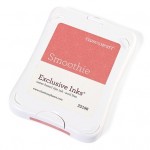
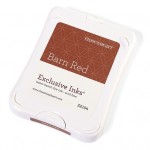
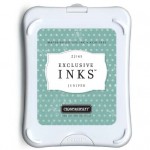
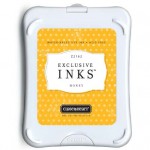


Thanks for the tutorial and for showing how the Jackson paper works with this card set, too!
ReplyDeleteSuch a great idea to show the same card in a different palette! Great way to take an idea and make it your own!
ReplyDeleteLove the color choices! Can't wait for summer:)
ReplyDeleteFunny...I think I like the Jackson papers better, probably because the Popsicle looks like a fudgecicle!
ReplyDeleteI thought yummy fudgesicle too! Love it in guy papers!
ReplyDeleteYummy cards:)
ReplyDeleteI really enjoyed the switched paper it really looks yummy in Jackson.
ReplyDeleteClever idea using Jackson paper, give the cards a complete different look.
ReplyDeleteLove how you switched out the papers. TFS your tip :-)
ReplyDeleteLove the cards with the Jackson paper pack too.
ReplyDeleteLove that you experimented with the Jackson paper packet.
ReplyDeleteGreat idea changing the papers to Jackson! It is a fudgesicle now, my favorite! ;o)
ReplyDeleteGreat using both paper pack
ReplyDeleteYour cards look great with both paper packs. Thanks for the tip regarding the twine.
ReplyDelete