Welcome to the Holiday Cards Blog Hop !
This month I am following {Michelle Stewart's blog} We have 16 Close to My Heart Consultants participating in our Holiday Cards Blog Hop. If you lose your place while traveling through our blog hop, the complete list of participants can be found here.
A few years ago Close to My Heart had a super cute Christmas stamp that had a small Santa on a sleigh with his reindeer. I had taken a class using a brayer so I made a special Christmas card for my team using this stamp set.
This year Close to My Heart released this Jingle Joy - Cardmaking stamp set:
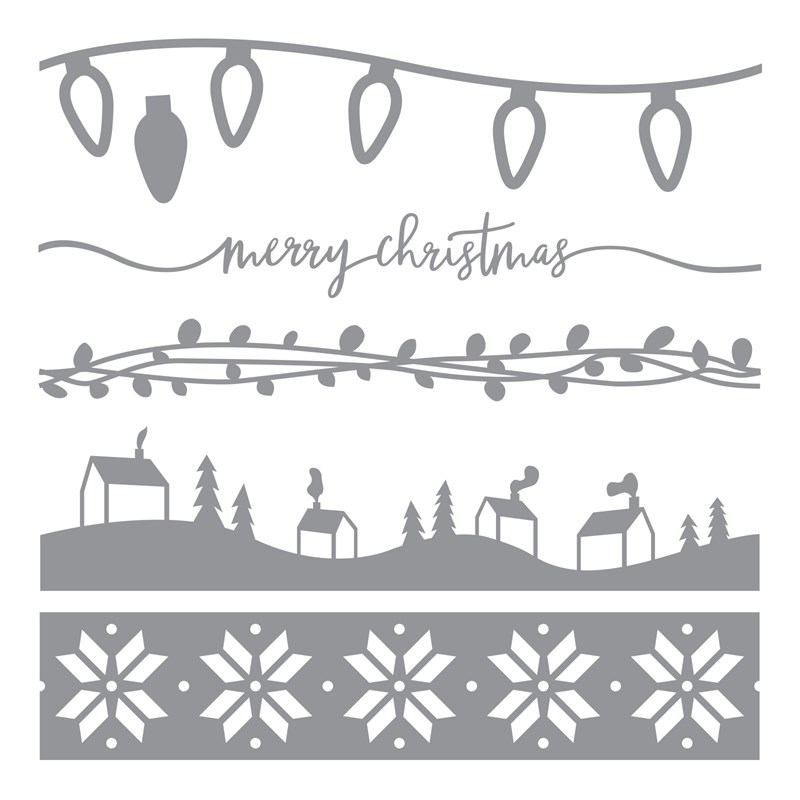
You can purchase it with Thin cuts or without. And look at that cute Santa, sleigh, and reindeer. I just had to use it! And as I looked in the November/December catalog, their artwork showed the card exactly like I had used before. They even used the little houses from our new Yuletide Border Thin Cuts:which I also did, cutting the house and tree piece out of White Daisy Cardstock.
And instead of using a brayer, I could make the sky with our new Distress Oxide Inks!
Here's my card:
So let me tell you how I made this card. First of all, I used the emboss resist technique for my Santa and the stars. I was delighted to see that it worked with this type of ink. I took a 4" x 5.25" piece of White Daisy Cardstock and rubbed my Anti-Static pouch over it. Then I stamped Santa's sleigh with Archival Black Ink and applied Clear Embossing Powder. I then stamped the stars with Versamark and applied Clear Embossing Powder. Using my Heat Tool, I melted the embossing powder. Then using the brush Embossing Ink Pen, I "painted" over the parts of the sleigh and Santa that I wanted to remain white and once again added the Clear Embossing Powder and then melted it with my Heat Tool.
Now I am ready to add Distress Oxide Ink. I first applied Antique Linen Distress Oxide Ink with my Mini Ink Blending Tool in the area where I wanted the moon. I am going to apply darker colors for the sky so I can extend the moon to give myself plenty of room as well as getting that cool effect you see. Then I cut a sticky note with a 1.25" circle and place that circle where I want the moon to be.
Now I start inking the sky using Chipped Sapphire Distress Oxide Ink. I remove most of the ink on a scratch paper and then starting at the bottom, rub the ink up about 1/3 of the card. Then I pick up the Seedless Preserves Distress Oxide and once again after removing much of the ink from the Blending Tool, start right before the Sapphire Ink ends, and I rub the ink into the cardstock. I added ink up to the top of the card and I careful go around the moon, barely going into it.
Then I add Black Soot Ink from the top of the card and blend it into the Seedless Preserves Ink. Once I am finished, I removed the sticky note and wiped the ink off of the stamped images. All of the stamped images were then wiped off with a paper towel, removing most of the ink.
And I just had to splatter some more sparkle on my sky with my Clear Shimmer Brush!
The snow is cut from White Glitter Paper using the Fancy Borders Thin Cuts.
I used the die cut second from the bottom. The front snow bank is cut using the house die cut from the Yuletide Borders Thin Cuts. I cut the houses and trees off and adhered the snow bank to the White Daisy piece cut with the houses.
The White Daisy house piece was colored with my Black Tri Blend Marker, the trees were colored with Alpine Green Tri Blend Marker. My little houses were cut with the die out of Flamingo (light and dark), Glacier, and Green Apple (light) cardstocks.
I framed my artwork with Black Cardstock cut using the large rectangle from our Stitched Rectangles. This is all mounted on a card base using our Value Pack Cards and Envelopes.
I added additional stars using Diamond Stickles. And then I applied some Matte Textured Paste on the smoke coming from the chimneys.
I know that was hard to follow so here is my Facebook Live from my Customers' group showing how to make this card.
Thank you for visiting my blog. I would love for you to show me a little love by leaving me a comment and then please go to our next artist, Krista Hershberger and see what she has made.


Super love the scenery on your card! SO BEAUTIFUL!
ReplyDeleteOh that's so fun! I love this, you have inspired me.
ReplyDeleteAmazing card, so many details, love the ink oxide sky & Cozy little town.
ReplyDeleteThese supplies are on my next order due to arrive shortly. Can't wait to play. Love your card.
ReplyDeleteWOW!!! This is awesome! Love your card!
ReplyDeleteThis is gorgeous! Love all the little details :)
ReplyDeleteI love all the details in this! So pretty!!
ReplyDeleteSo pretty! I love how Santa is highlighted!
ReplyDeleteFantastic card! I love it!
ReplyDeleteThis is gorgeous! I love the scene you created.
ReplyDelete