
Welcome to the Close to My Heart
Focus on Watercolors Blog Hop

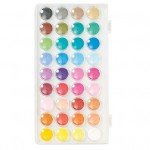
I was introduced to how to use watercolors with stamping last summer at our Close to My Heart Convention. It is so easy to use and gives you many colors with a small price. For only $11.95 you get 36 different colors and an umpteen amount of different combinations since you can mix your own colors in the wells that are found in the lid.
I love to make scenes with my cards. They seem like little works of art and they are so fun to make. I love the ocean and was in the mood to make a beach scene. So here's my card.
Focus on Watercolors Blog Hop

This hop I am following {Wendy Coffman's Blog.} We have 30 Close to My Heart Consultants participating in our Close to My Heart Focus on Watercolors Blog Hop. If you lose your place while traveling through our blog hop, the complete list of participants can be found here. Thank you for hopping through our Blog Hop.
 |
| Close to My Heart Watercolors |
I love to make scenes with my cards. They seem like little works of art and they are so fun to make. I love the ocean and was in the mood to make a beach scene. So here's my card.

Doesn't that just seem so peaceful? I can almost smell the salt in the air and hear the seagulls singing! I grew up near the ocean and what great memories this brings to me.
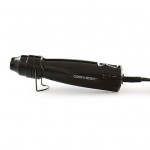
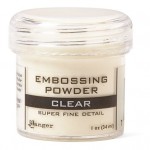
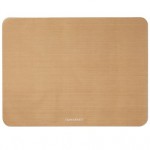
I took a class a few years ago on how to use a brayer and decided to see if I could use a similar technique with watercolors. I grabbed my All-Purpose mat to protect my work surface and pulled out some painter's tape from the garage. Then I used the stamp set, My Anchor (C1642), and stamped the lighthouse and sun with pigment ink because I wanted to emboss the images. This would allow me to watercolor over them and the embossing would resist the paint and would remain the colors I stamped them.

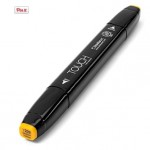
I cut watercolor paper a little bigger than what I need so that I can cut it to my liking after I am finished. I stamped and embossed the images, added some shading to the lighthouse with some glacier ink and my blending pen, colored the lighthouse with my Carmine (red) and Golden Yellow Shin Han Alcohol Markers, and then covered the entire light house with more Versamark Embossing Ink (using a firm paintbrush). Then I heat embossed one more time.
As you can see, I used green painter's tape with a torn edge to tape my paper down. This helped with the warping you can get when you watercolor and also provided a cool uneven edge for my artwork.

Then I took a piece of torn Eclipse tape to mask off the top of the card so that I can paint the ground. You can use post it notes or more painter's tape if you like or even a wide washi tape. Then I did a light brown wash over the ground. I went back after it dried a little bit and added some darker brown. Then I splattered darker brown and a bit reddish brown. This gave the ground dimension. I let the ground dry and went on to the sky.

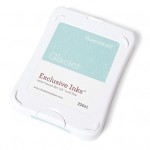
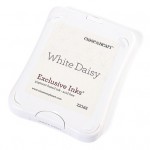
After the ground dried, I took the piece of Eclipse tape that I had torn off the original mask and masked the ground. I started with a light blue wash and added darker color here and there. You can always lighten what you paint by adding water. After it dried, I added some highlights here and there with some White Daisy pigment ink and a brush.
I had to stamp some seagulls and half of the sentiment from this stamp set. The other half is stamped on the inside of this card.
Thank you for visiting my blog.
By the way, I would love for you to leave me a comment and then please go to our next artist, {Michelle Stewart's Blog.}
You can purchase any of the supplies listed below at www.melindaeveritt.ctmh.com.
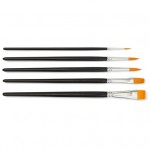
Supplies Used


I love that you took the time to show the steps of how you created your card - at some point, I am going to try this myself. The end result is gorgeous!
ReplyDeleteI love the wealth of techniques you shared!
ReplyDeleteWow, that's for sharing how you did the masking, that's awesome!
ReplyDeleteThis card really pops but it has a "soothing" effect when you look at it, just like a painted picture. TFS all the techniques.
ReplyDeleteGreat step by step instructions and the finished background is stunning!
ReplyDeleteGive me a blanket and a book and I'll meet you in the sand! Your cards is stunning and certainly peaceful!
ReplyDeleteGorgeous! Your scene is expertly done! Thanks for providing photos of your creative process and for inspiring me today.
ReplyDelete:) Marie
Great card and thanks for the step by step photos!
ReplyDeleteLove how it turned out. Even your sun looks phenomenal!
ReplyDeleteBeautiful card!!! Thank you for your inspiration and sharing your tips and techniques.
ReplyDeleteWOW... Fabulous watercolored scene! Thanks for the tips :)
ReplyDelete