Showing posts with label Base & Bling. Show all posts

6/26/2015

My Crush Angel Necklace


The My Crush Assortments are lots of fun to use in your My Crush albums.  They add some pizzaz and personality to your album.  But you can also use them to make other things as well.

I took this small card from the Holiday Assortment.


Isn't she adorable?  This is what I made.


A beautiful necklace.  My angel now looks like a Victorian little girl. I added a CTMH rose charm and I now have a vintage necklace.

You can do so much with the Base and Bling line.  Just adhere your picture to a base of your choice with CTMH Liquid Glass, add some more Liquid Glass to the top, and drop the Base and Bling crystal on top.  Once it settles, push down a bit to remove any bubbles, and then wipe any extra Liquid Glass off with a baby wipe.

It dries pretty quickly and then you can thread it onto a chain and add charms.  This makes an adorable gift or keep it for yourself.

I am entering this project in the Craft my Life Anything But a Card Challenge.

Supplies Used

7/13/2014

Stampers with an Attitude Bling it Up Blog Hop


Welcome to the July Stampers with an Attitude Bling it Up Blog Hop.  This month I am following  {Melissa Robinson.}  Our blog hop is a circular hop.  You just click on the link to the next blog on the bottom of this post and go visit the next blog.  If you get lost, I have listed all of the participating blogs at the bottom of my post.  Hope you enjoy seeing what our team has made for you.

This month our Stampers with an Attitude are Blinging up their artwork.  I LOVE Bling!!!  The more the better!  That is why I am known as the Bling Queen!

I just got back from the Close to My Heart Convention and I saw so much truly amazing artwork.  I have had a few Picture My Life kits sitting around and after seeing what other CTMH Consultants have done with these kits, I picked out a card whose sentiment I loved and set out to make an inspirational piece of art for my wall.


I really needed to spend the time creating and playing with the Skylark paper pack.  The base of my artwork is two pieces of chipboard adhered together.  Then I started ripping pieces of my patterned paper, inking the edges with chocolate ink, and adhering it to the chipboard with my Bonding Memories glue.

I used my favorite Dreamer (B1439) Stamp Set and then added the Picture My Life Skylark card matted with Chocolate cardstock and then with our new Teal Glitter Paper (orderable 8/1).

I added lots of flourishes, clear bling, a charm from our Base and Bling collection, and some flowers from the Skylark assortment.  And then I covered the entire piece of artwork with Glossy Mod Podge.

Thank you for visiting my blog.  The next very talented artist for you to visit on our blog hop is {Jen Patrick}. 

Below is a list of supplies used.  They can be purchased on my website and sent directly to you!

Supplies Used


2/16/2014

Check Out Our New Close to My Heart Base & Bling Pendants


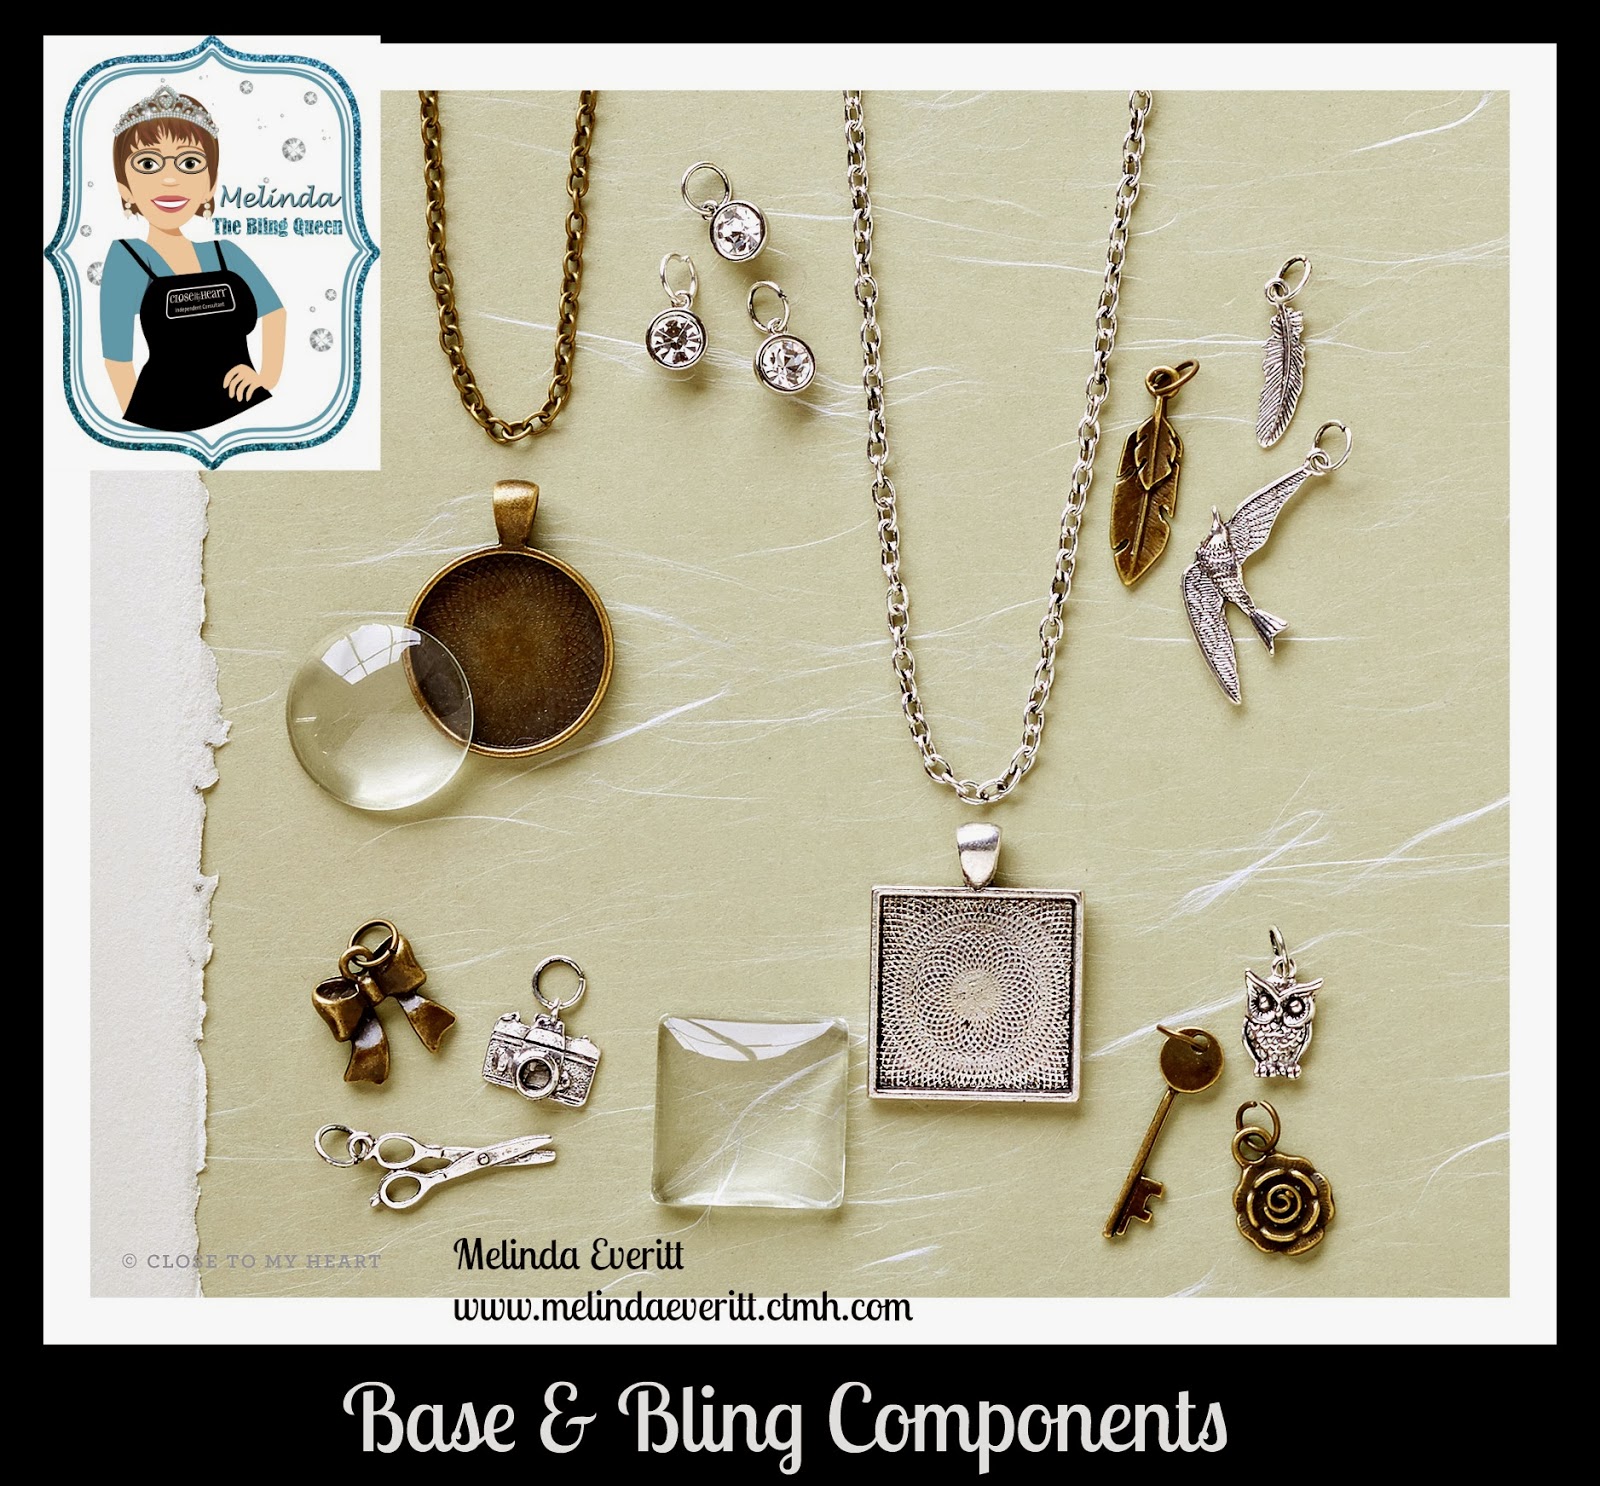
Have you seen our new Base and Bling pendants?  These are so very "in" right now.  With our new Base and Bling line, you can make these necklaces at a very reasonable price and each one will be unique, reflecting your taste and creativity.  This very short video will tell you a bit about this line and then I will tell you how to assemble them.  They will take you 5 minutes tops to put together once you have made your choice of colors and pendant background.


My team just finished our Spring Stamp Camp and we made these super cute pendant necklaces at the Camp.  Not one person had a hard time assembling their pendant.  We could not believe how easy it was to make and in 15 minutes, we had a finished necklace.

Let me tell you a bit about these necklaces.

The chains and pendant backs come in two colors - Faux Antiqued Gold and Faux Antiqued Silver. The chains are 30 inches long.  The pendants come in a 1" square or a 1" circle.


The pictures are actual decals.  We have 4 different decal sheets, each with it's own theme and there are 32 decals on each decal sheet.  The decals are self adhesive so they are easy to apply to the pendant back.  The pendants come 3 to a package as do the crystal covers.

Then there are the cutest little charms that come six to a package that you can add to your necklace to make each necklace an individual piece of art.


Let me give you some tips and tricks on how to assemble your necklace.

  • Cut your chosen decal off of the decal sheet, remove the decal, and really push it onto the pendant back.  The decal must be firmly adhered to the back of the pendant so that it doesn't bubble up.  For a circular pendant, either use a 1" circle punch to cut out the decal or take the round crystal, place it over the decal, draw around it and then cut it out with your scissors.
  • Place a large bubble of Liquid Glass in the middle of the pendant over the decal and then place the crystal over the Liquid Glass.  Watch the Liquid Glass flow to the sides of the pendant.  After it stops moving, push down lightly on the crystal, wiping any Liquid Glass that oozes out with a damp paper towel or baby wipe. You want the Liquid Glass to reach the edges of the pendant.
  • Hold down on the crystal/pendant for several seconds so that the seal is nice and strong.
  • Set it aside for 15 minutes so that it can dry and then thread it onto the chain and add any charms you would like. The charms have little jump rings on them so that you can easily add them to your chain.
                                                                    Supplies Used


HTML tutorial